How to add your logo
Your logo is a key part of your brand. Adding it to your site can help instill confidence in your visitors and reinforce your brand.
On your WordPress site, you can add your logo once and use it in multiple places on your site using the logo block.
Instructions
Step 1: Navigate to the site editor
The site editor is where you can manage the header and footer and other page templates.
To navigate to the site editor, hover over the Appearance menu item on the left side navigation bar. Then select Editor.
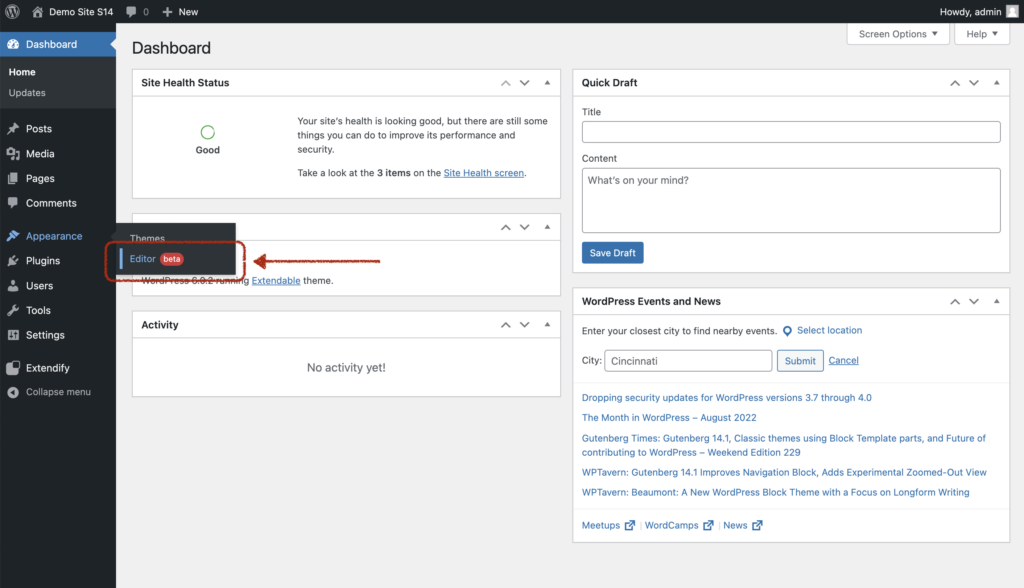
Step 2: Locate and click on the logo block
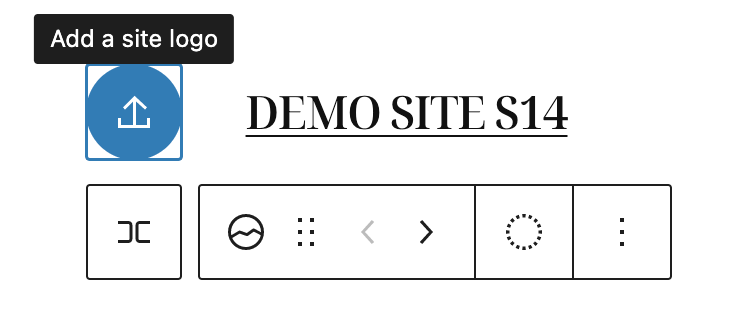
In the header area (the top part of the page), locate the logo block. It is typically in the upper-right corner and looks like this:

You’ll know that you found the correct block because when you click on it, it will show the upload icon and say Add a site logo when you hover over it.
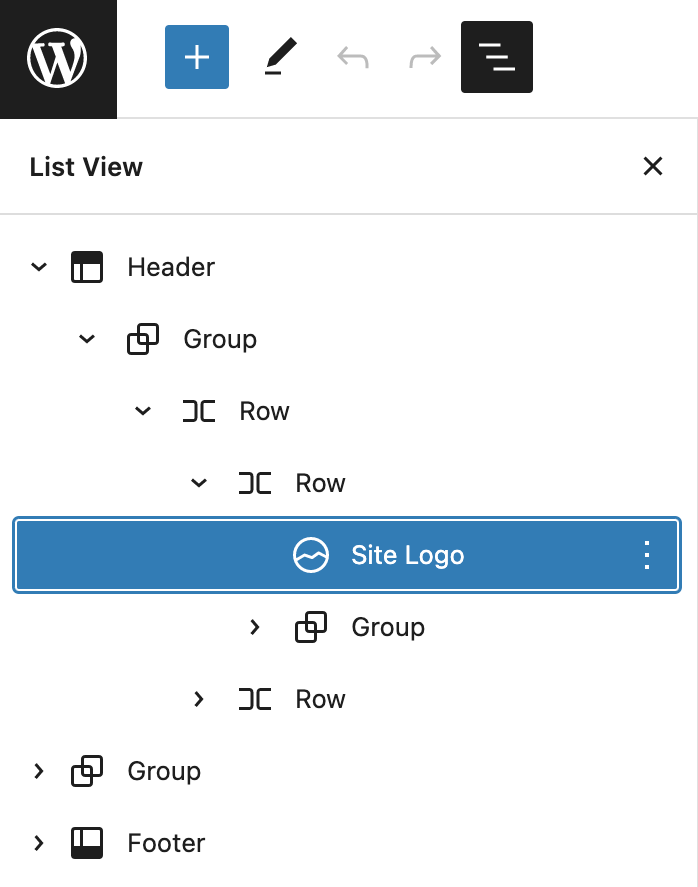
If you are having trouble finding or clicking on the logo block, you can click on the list view button in the top toolbar

Then navigate to the logo block in the menu
Step 3: Upload your logo
Once you have selected the logo block, you can click on the Upload logo button.
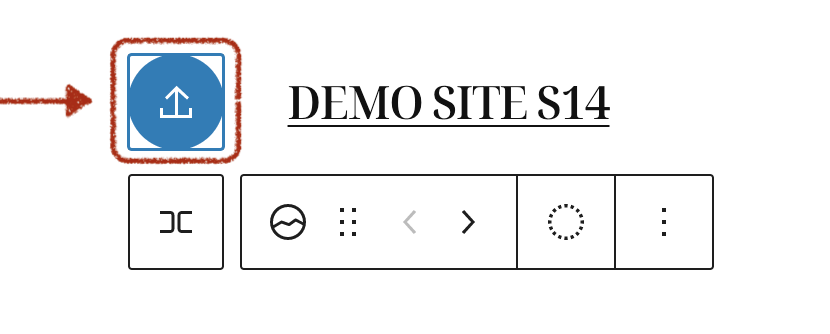
Once you click on the Upload logo button you can either drag and drop the logo to the screen or click the Select files button.
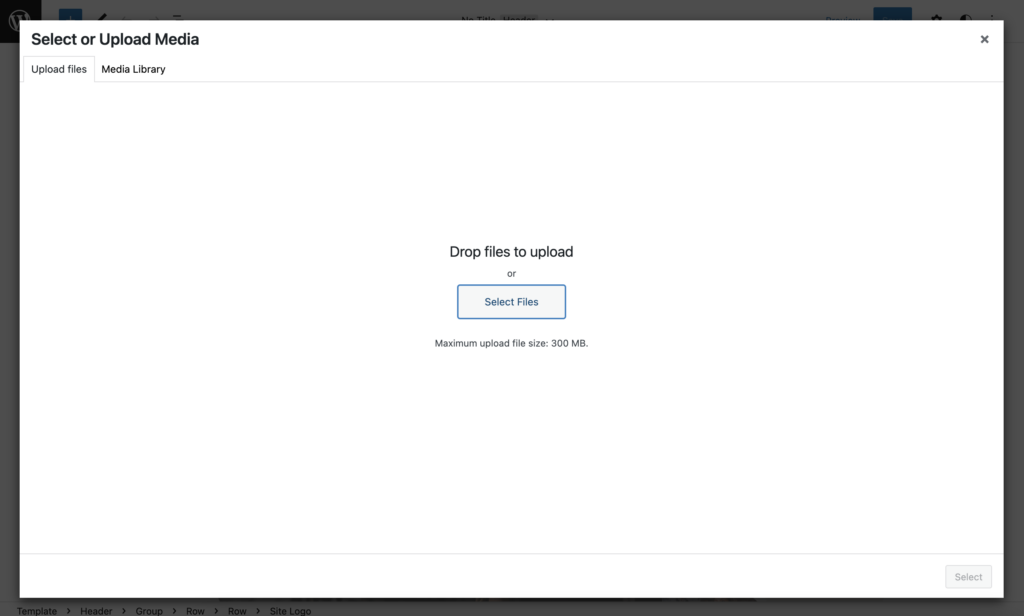
Then, ensure your logo is selected and click the Select button in the bottom right corner.
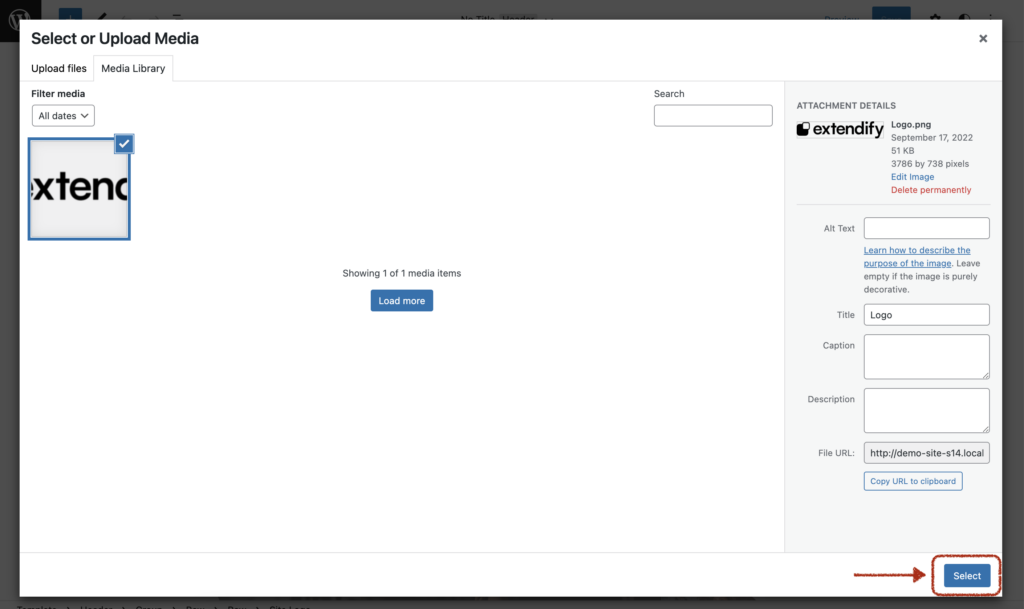
You should now see your logo on the page template.

If you need to, you can always repeat the above process to change the logo by clicking on the logo and clicking on the replace button.

Step 4: Save changes!
Finally, don’t forget to save your changes by clicking the Save button in the upper right corner of the page.

Then confirm your save changes.
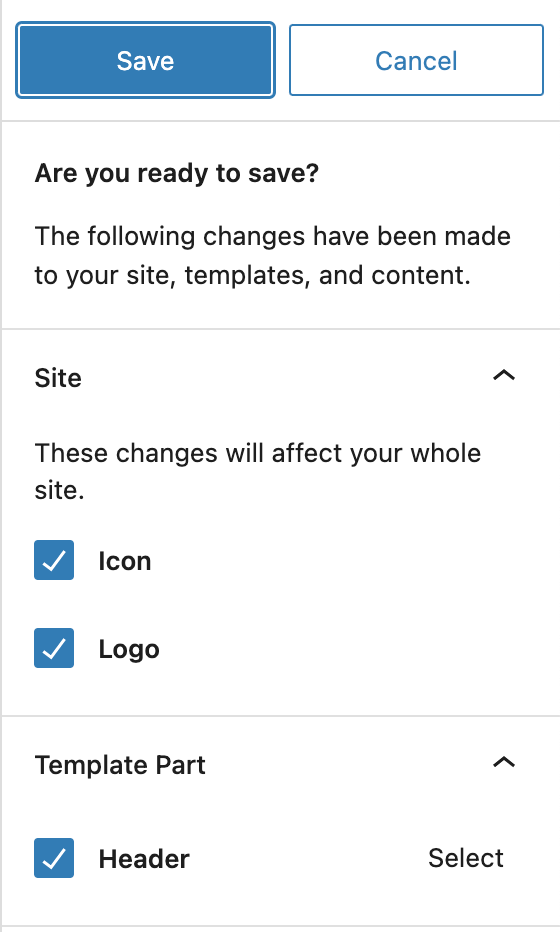
You will now see your logo on the home page of your site and any other page that has a header.
Other resources
If you don’t have a logo, there are several free logo makers available. For example, the Adobe Express Logo Maker and the Looka Logo Maker.
For more information about the logo block, see this article on the WordPress support pages.