How to add a site icon
A site icon, also known as a favicon, displays in the browser tab and a few other places in the browser (such as bookmarks and history).

Instructions
Step 1: Navigate to the site icon settings
You can navigate to the site icon settings in two different ways.
Option 1 — the first option is to edit your admin dashboard url by replacing the /wp-admin/... with /wp-admin//customize.php?autofocus[section]=title_tagline .
Option 2 — the second option is the navigate to the logo block (instructions here) and then click on the block settings.

Once the block settings are open, you can select the option to use your site logo as the icon. However, this is only a good option if your logo is square. Otherwise, your logo will be cropped.
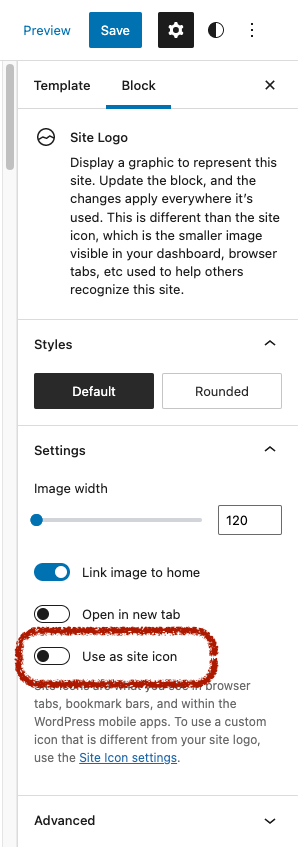
Or, you can click the link at the bottom to take you to the Site Icon settings.
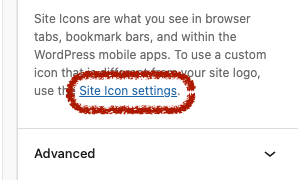
Step 2: Upload a site icon
On the site icon settings page, click the Select site icon button towards the bottom of the left side menu. Note, if you already have a site icon set, you can replace it by instead clicking the replace button.
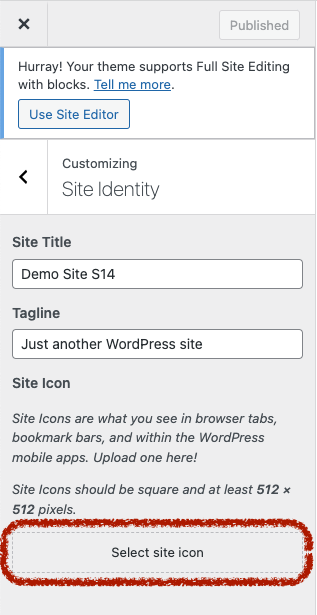
Next, upload your site icon.
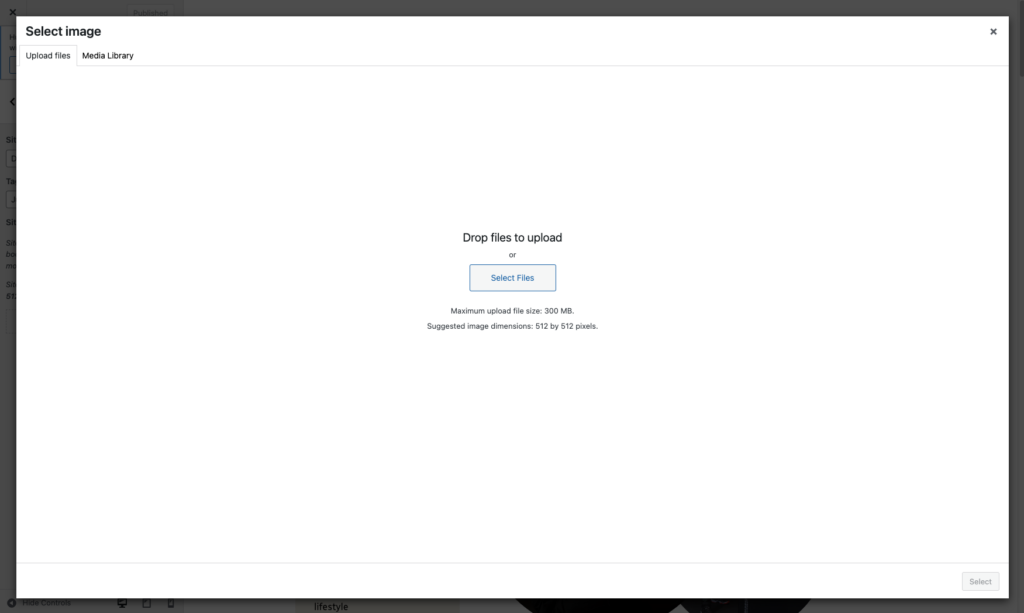
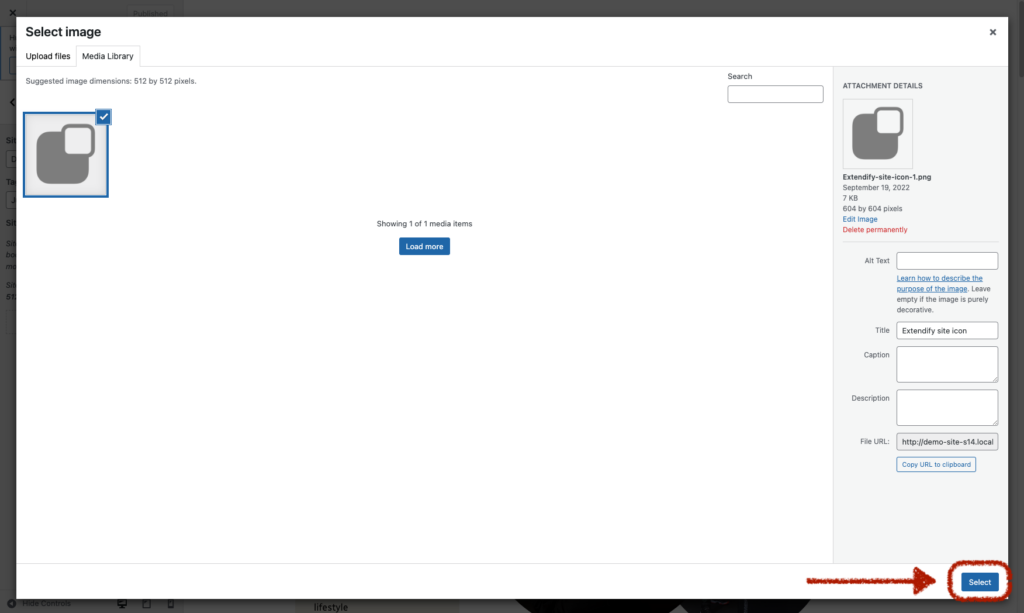
Next, ensure your site icon is selected and click the Select button in the bottom-right part of the screen.
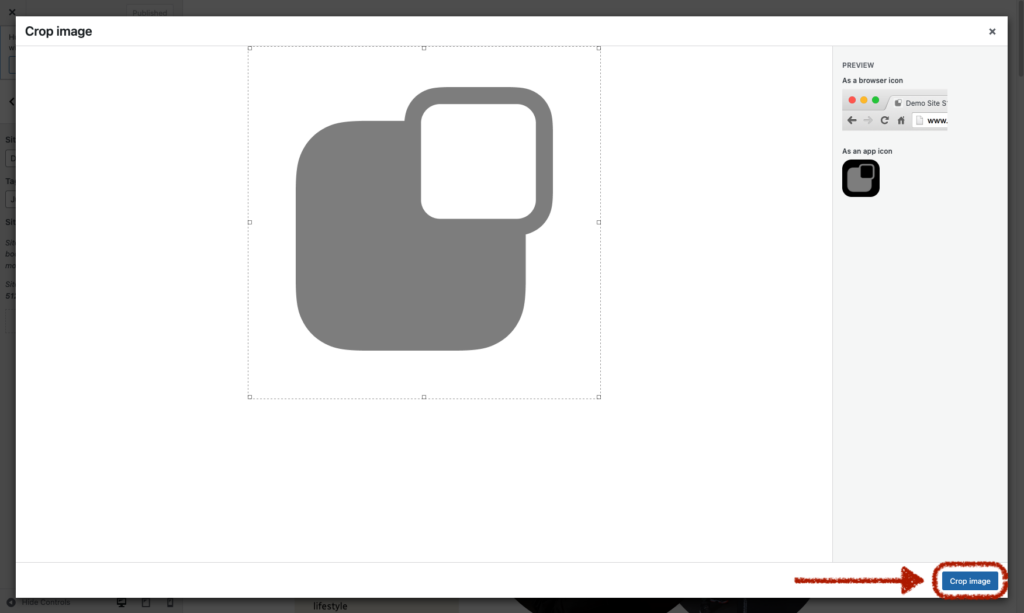
Next, click the Crop image button in the bottom-right part of the screen to confirm the cropping.
Step 3: Publish changes
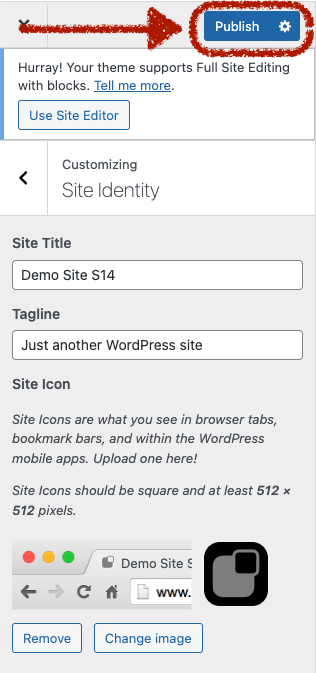
Finally, don’t forget to save your change by clicking the Publish button.
Other resources
Here is another tutorial from the WordPress support pages on site logos and site icons.