How to change the images on your site
Your Extendify site comes with stock images. We recommend that you replace the images with your own, where appropriate. Fortunately, editing your site copy is simple from within the native WordPress editor.
Instructions
Step 1: Navigate to the page editor
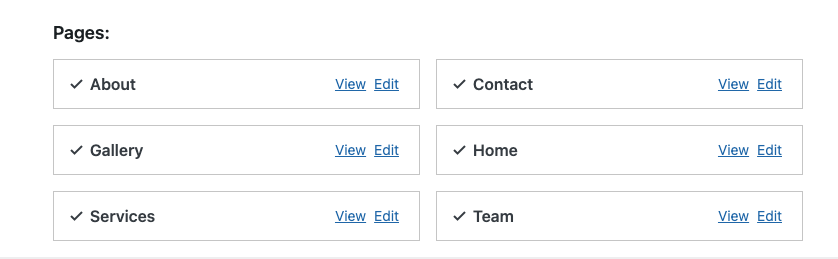
Option 1 — You can navigate directly to the edit view for the pages created by Extendify by clicking the Edit button next to any page name on the Extendify screen.
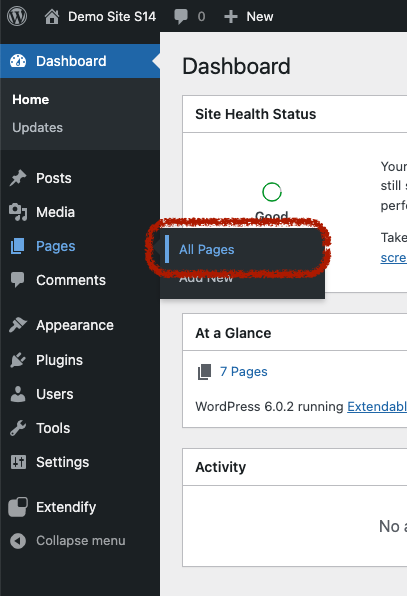
Option 2 — Alternatively, you can navigate to the WordPress pages menu by clicking the Pages item in the left-side menu of the WordPress dashboard
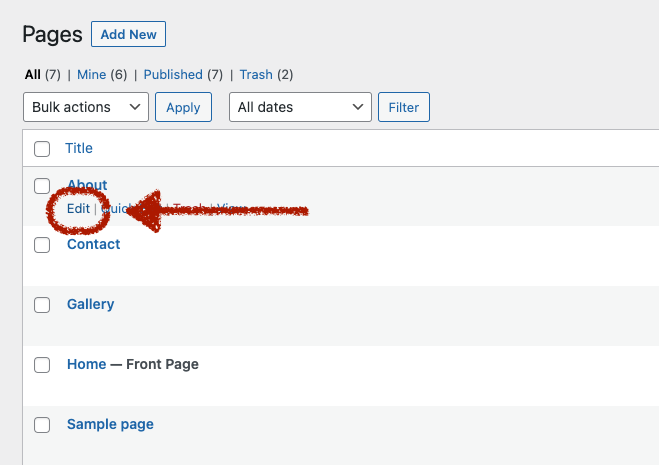
Once on the pages screen, you can hover over the page you’d like to edit and click the Edit button.
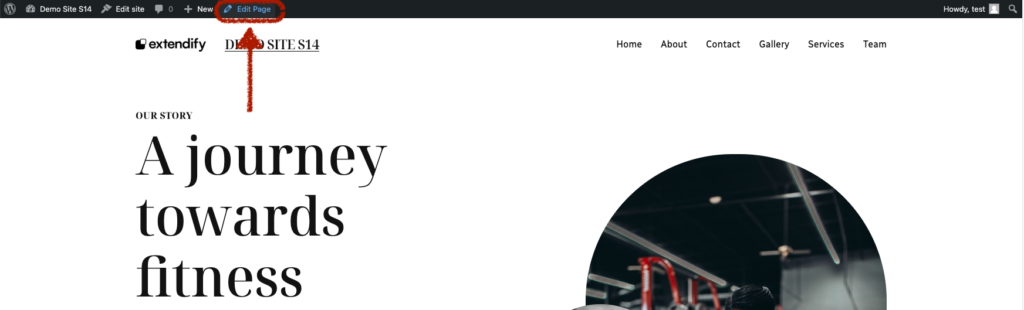
Option 3 — Finally, you can also navigate to the page editor from the admin toolbar that you will see when visiting any of your pages as a logged-in admin user. From the toolbar at the top of the page, click Edit page and you will be directed to the page editor.
Step 2: Replace images
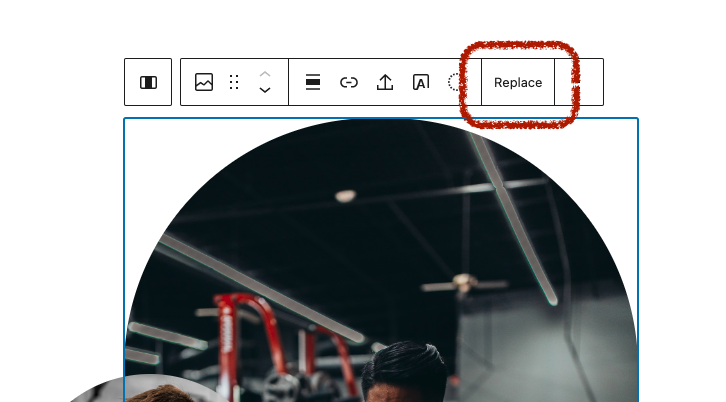
To change any image, click on the image to select the image block. From the toolbar, click the Replace button.
Next, click the Upload button to upload a new image.
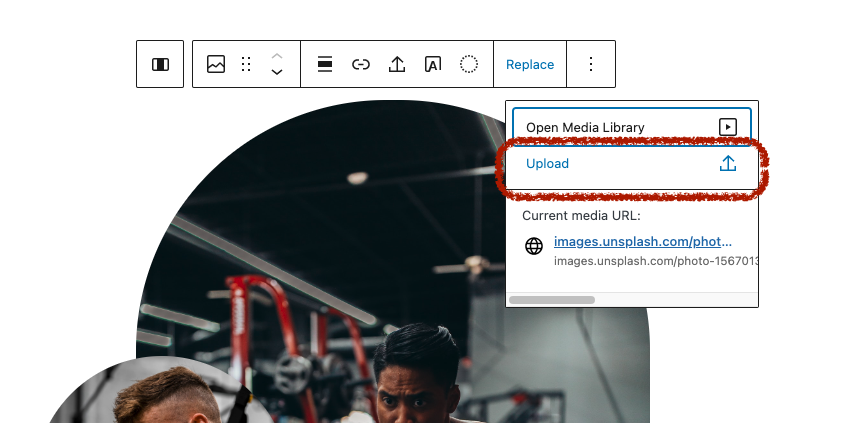
Alternatively, if you’d already uploaded an image and would like to use it again, you can also click the Open Media Library button and select an existing image.
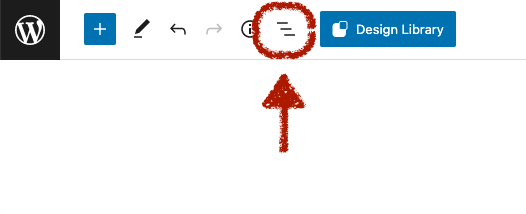
If you have having difficulty selecting the block with the image in it, you can click the List view button in the top toolbar.
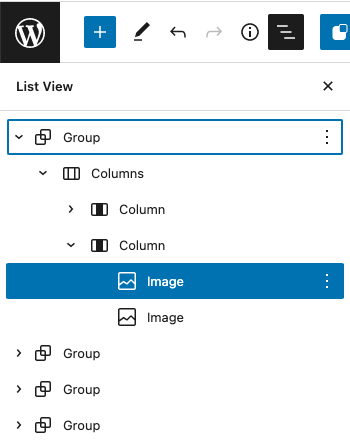
Then, you can navigate to the correct block in the list view.
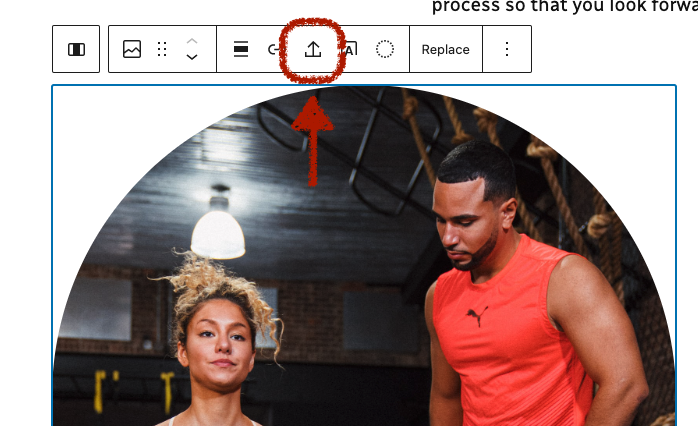
Step 3: Upload external images
If there are images that you would like to continue using, we recommend that you upload the image file to your media library. This ensures that the images are served from your site and not from a 3rd party site.
Fortunately, uploading them is easily done in one click. From the image block, click the Upload external image button and the image will be added automatically.
Step 4: Save your changes
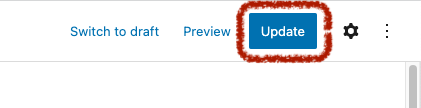
Once you are done editing your text, don’t forget to save your changes.
You can save your changes by clicking the Update button in the upper-right part of the page.
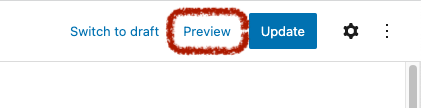
Before you update, you can also preview what your changes will look like by clicking the Preview button.
Additional resources
For more information about the image block and additional settings, see this page from WordPress support.